How do Generate E-Invoice in HB-GST?
 Save as PDF
How do Generate E-Invoice in HB-GST?
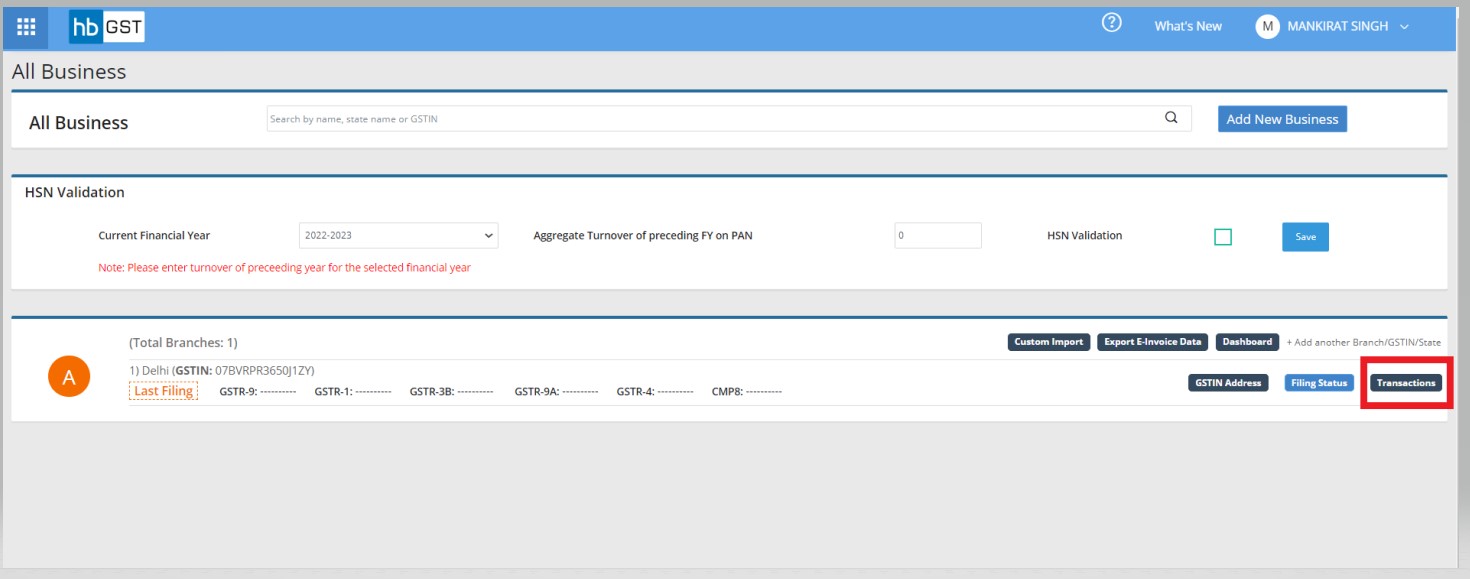
Click on the "Transactions" button after entering into the business
E-invoice can be generated for following documents:
- Sales Invoices
- Export Invoices
- Credit /Debit Notes
Process for E-Invoice Generation of "Sales Invoice"
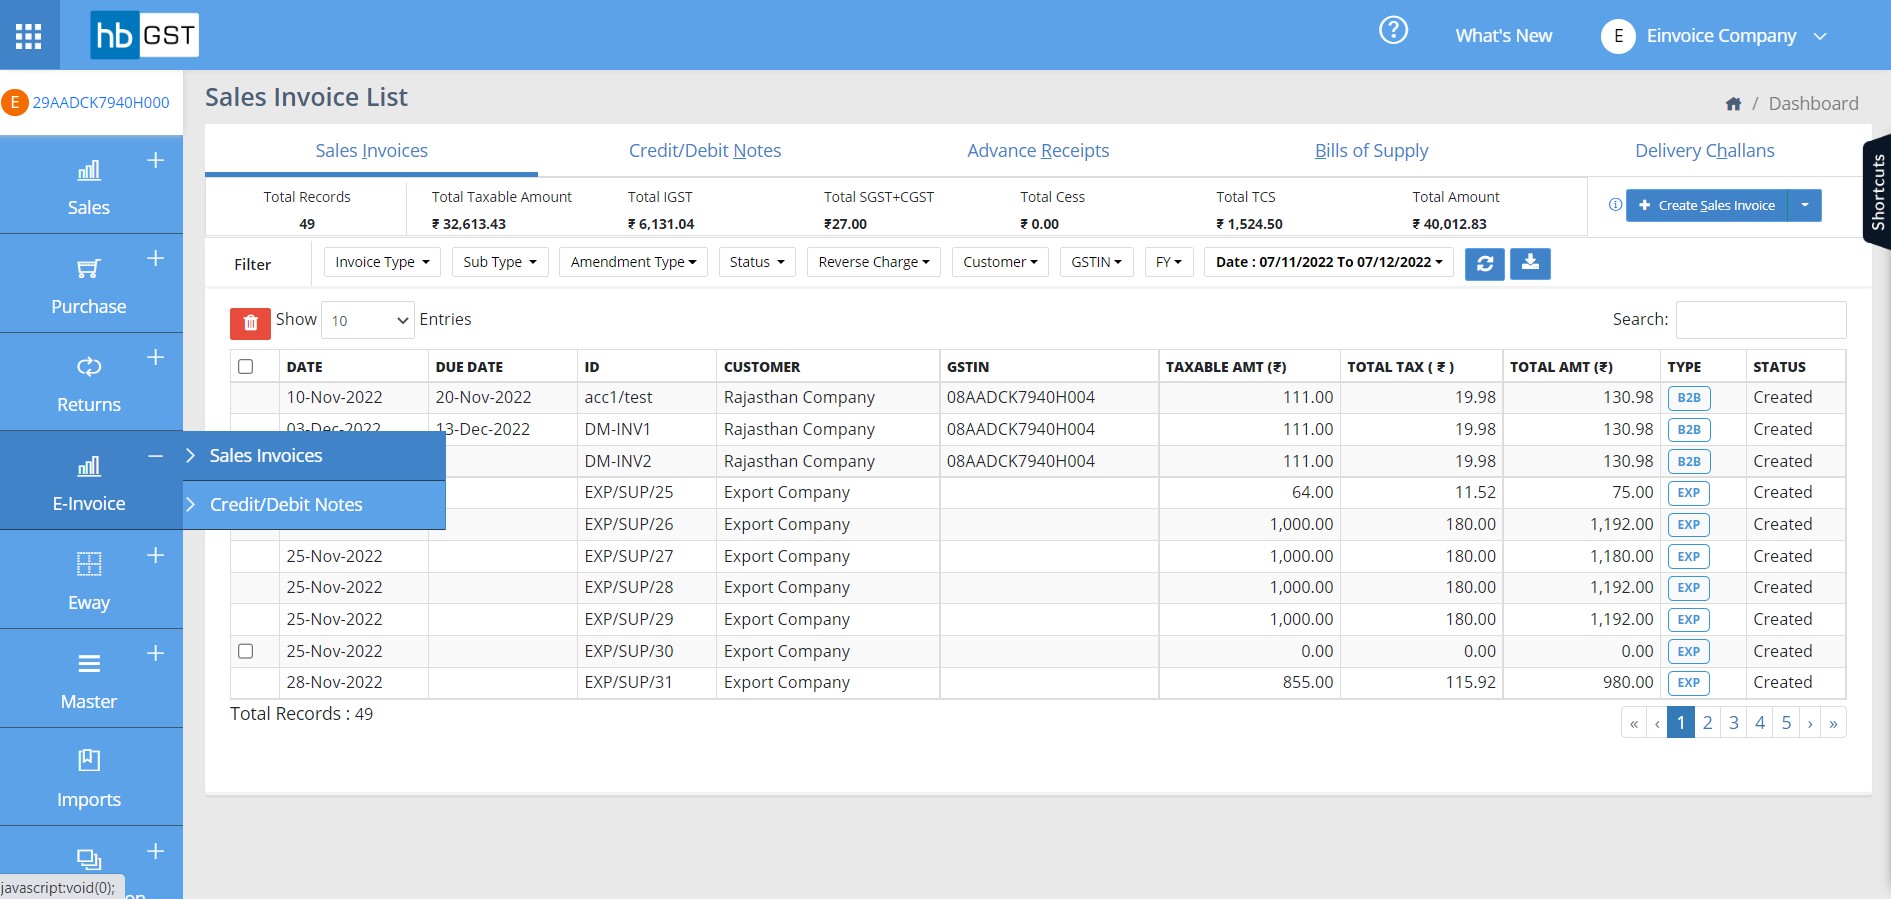
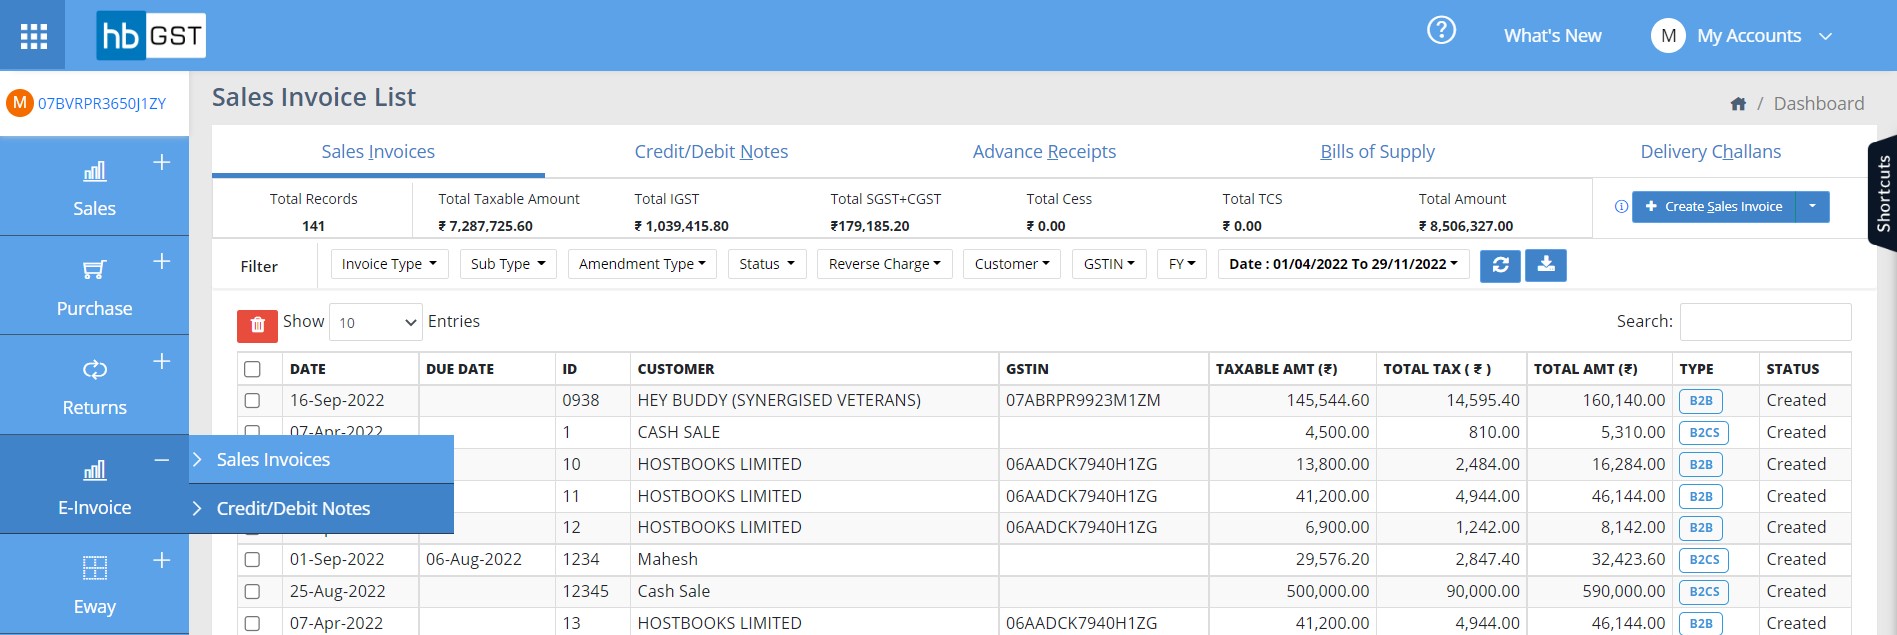
Step 1: Go to E-Invoice Module & click on "Sales Invoice"

Step 2: Create Sales Invoice or Import Sales Invoice (Refer GST Manual of creation of Sales invoice & Import Sales Invoice)
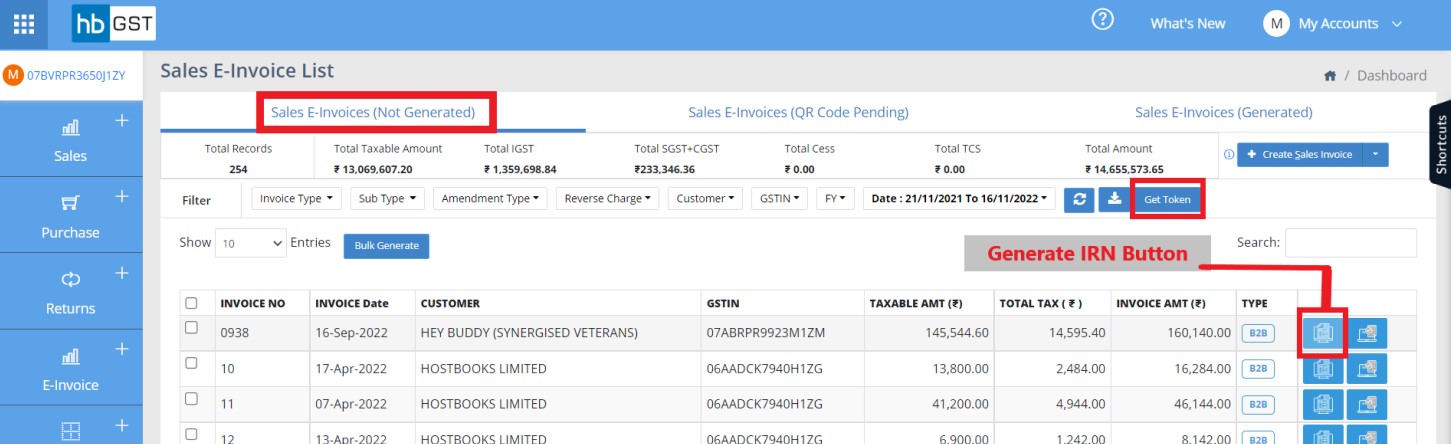
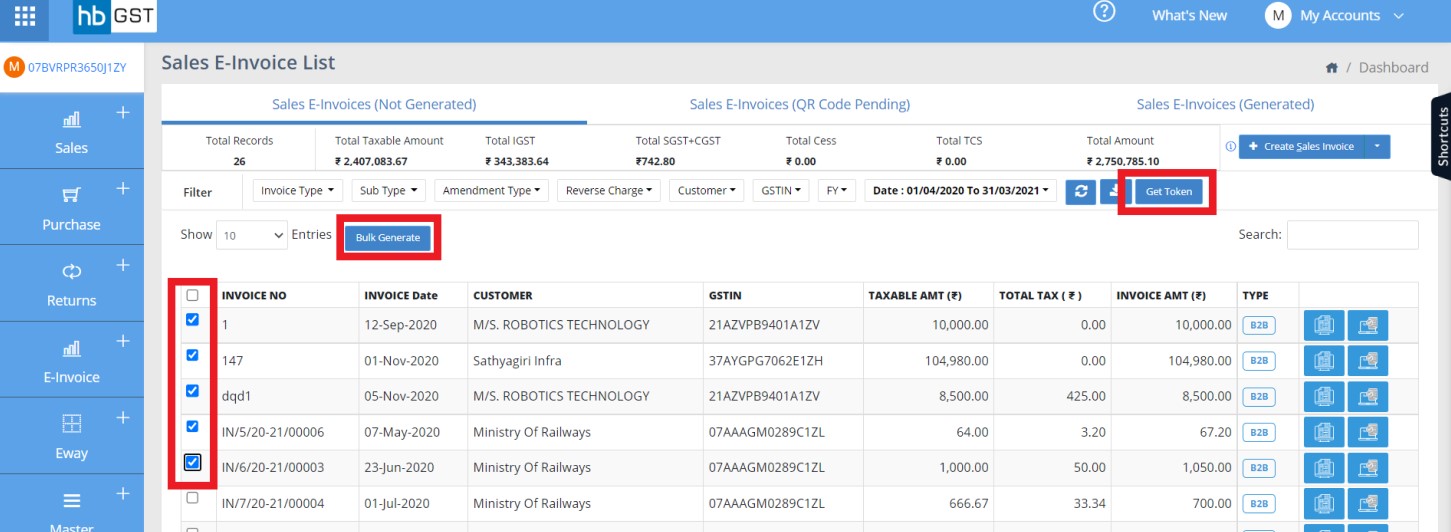
Step 3: At listing page of "Sales E-Invoice (Not Generated)"", click on "Get Token" & then click on "Generate IRN" against that sales invoice.
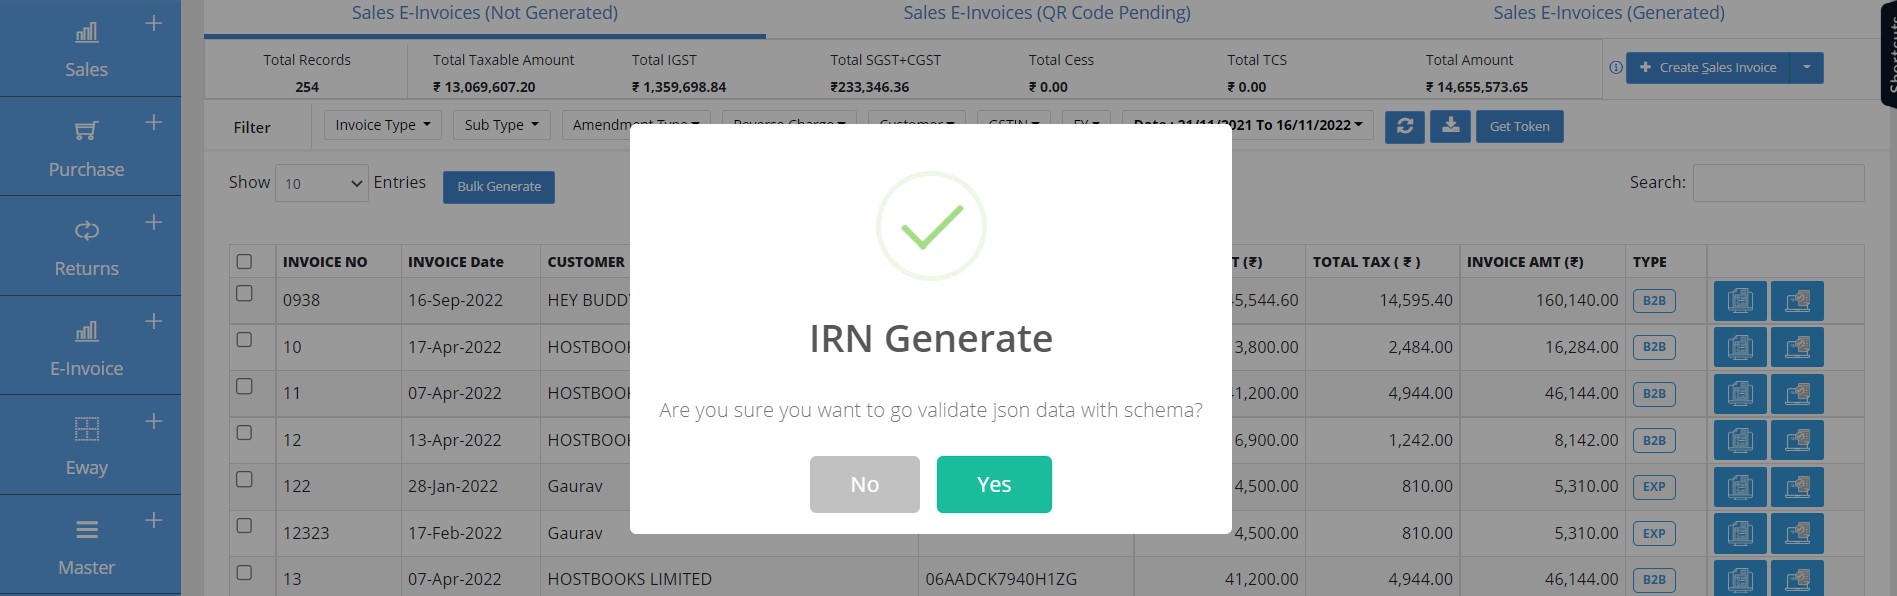
Step 4: Click on Yes and E-Invoice will be generated

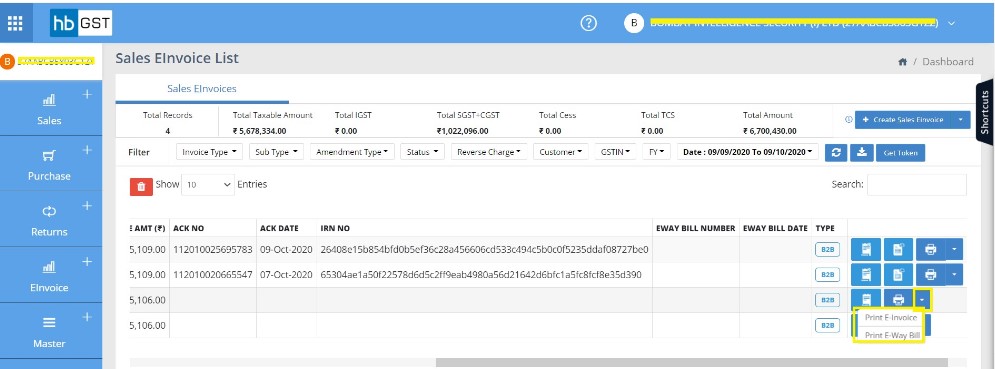
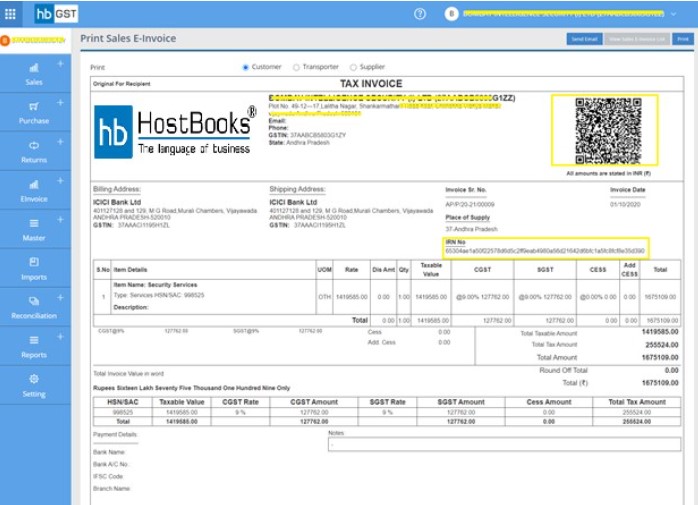
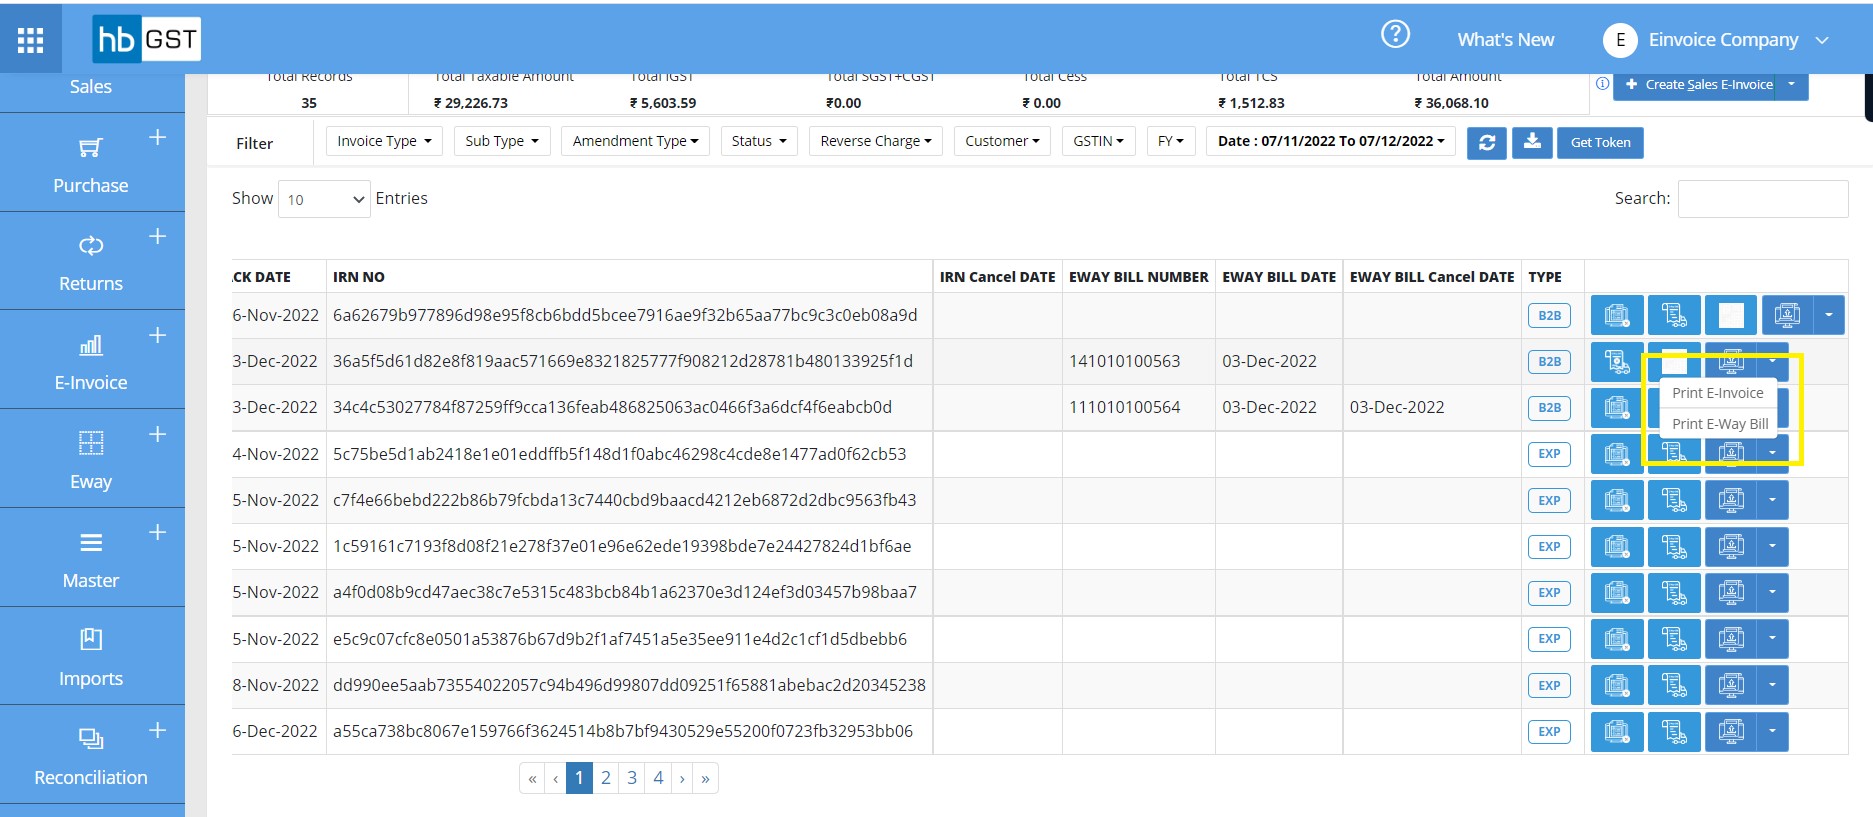
Step 5: Print Option for E-invoice & E-way bill
Step 6: Sample E-Invoice Print
Process for Cancellation of E-Invoice for "Sales Invoice"
Step 1: Go to E-Invoice Module & click on "Sales Invoice"
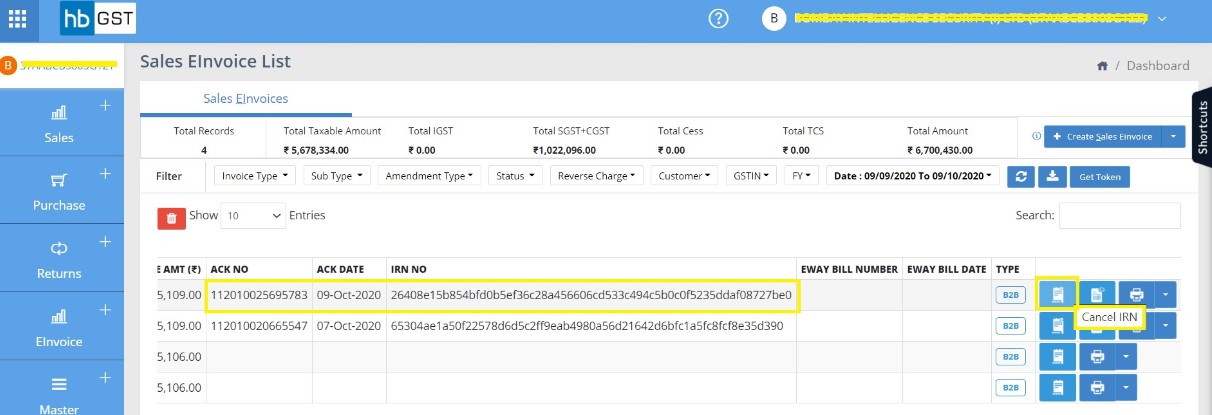
Step 2: Go to "Sales E-Invoices (Generated)" list

Step 3: Click on "Cancel IRN" button & it will be cancelled
Process for E-Invoice Generation of "Credit/Debit Note"
Step 1: Go to E-Invoice Module & click on "Credit/Debit Note"
Step 2: Create Credit/ Debit Note or Import Credit/Debit Note (Refer GST Manual of creation of Cr/Dr Note & Import Cr/Dr Note)
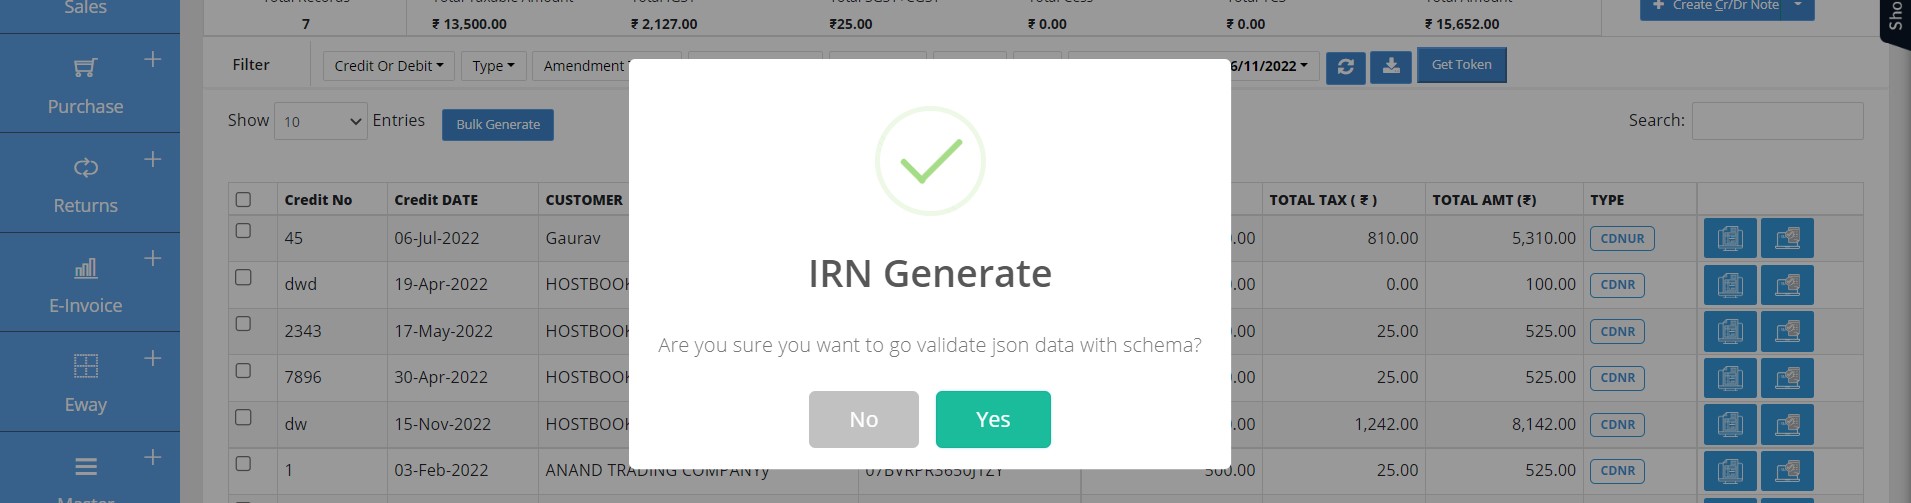
Step 3: Step 3: At listing page of "Credit E-Invoice (Not Generated)", click on “Get Token” & then click on "Generate IRN" against that sales invoice.

Step 4: Click on "Yes" and E-Invoice will be generated
Step 5: Print Option for E-invoice & E-way bill
Process for Bulk Generation of E-Invoice
Step 1: Go to E-Invoice Module & click on "Sales Invoice" or "Credit/ Debit Note"

Step 2: Click on "Get Token" & then select the invoices for which E-Invoice has to be generated.
Further click on "Bulk Generate" button to generate E-invoices for the selected invoices.
Step 3: Click on Yes and E-Invoice will be generated for all the selected invoices
Process for E-way Bill Generation after E-Invoice
Step 1: Go to E-Invoice Module & click on "Sales Invoice" or "Credit/ Debit Note"
Step 2: Click on "Get Token" & then click on "Generate EWB" button
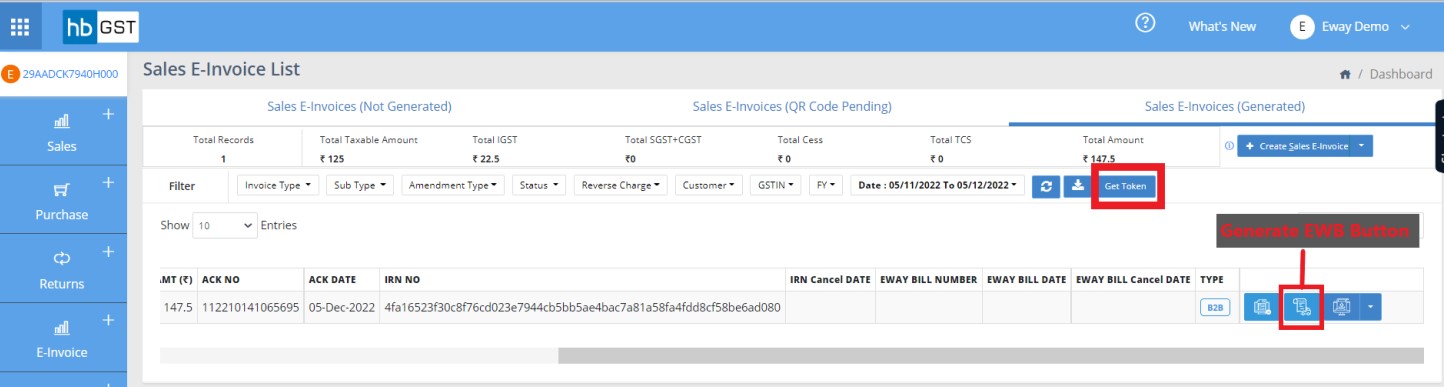
Step 3: Click on Yes

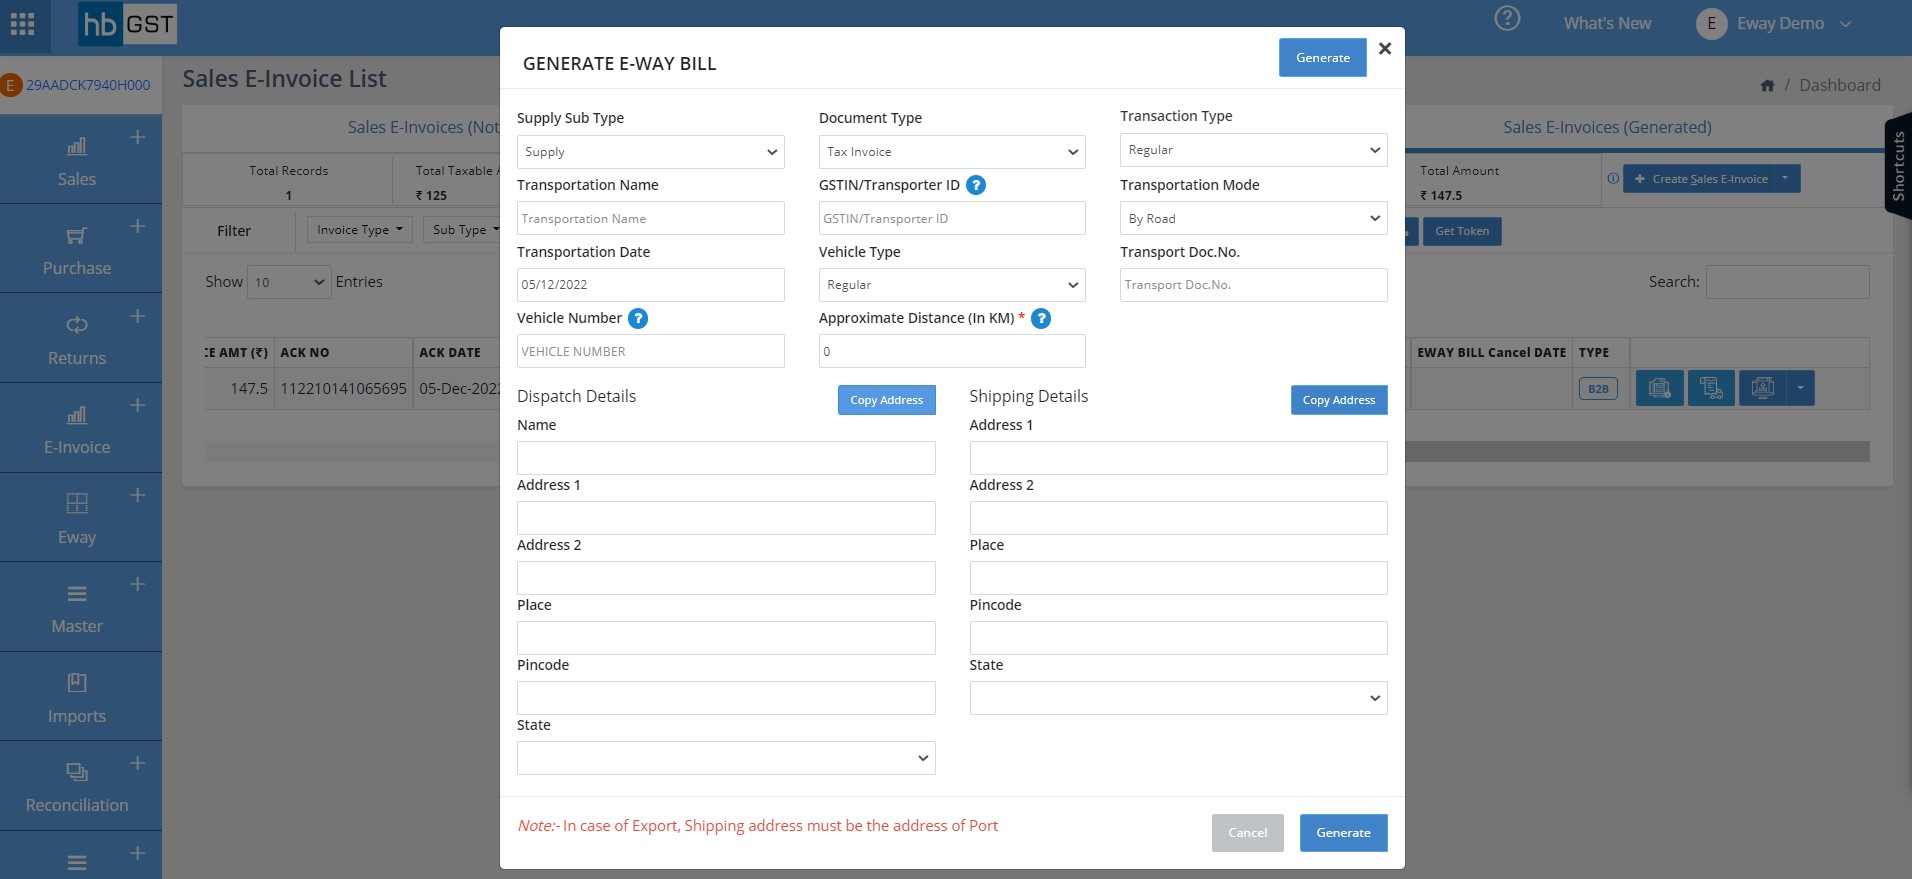
Step 4: Enter the transportation details & click on Generate
- Supply Sub type
- Document type
- Transaction type
- Transportation Name
- GSTIN/Transporter ID
- Transportation mode
- Transportation Date
- Vehicle type
- Transport Doc No
- Vehicle No
- Approximate distance (in km)
- Dispatch Details
- Shipping Details
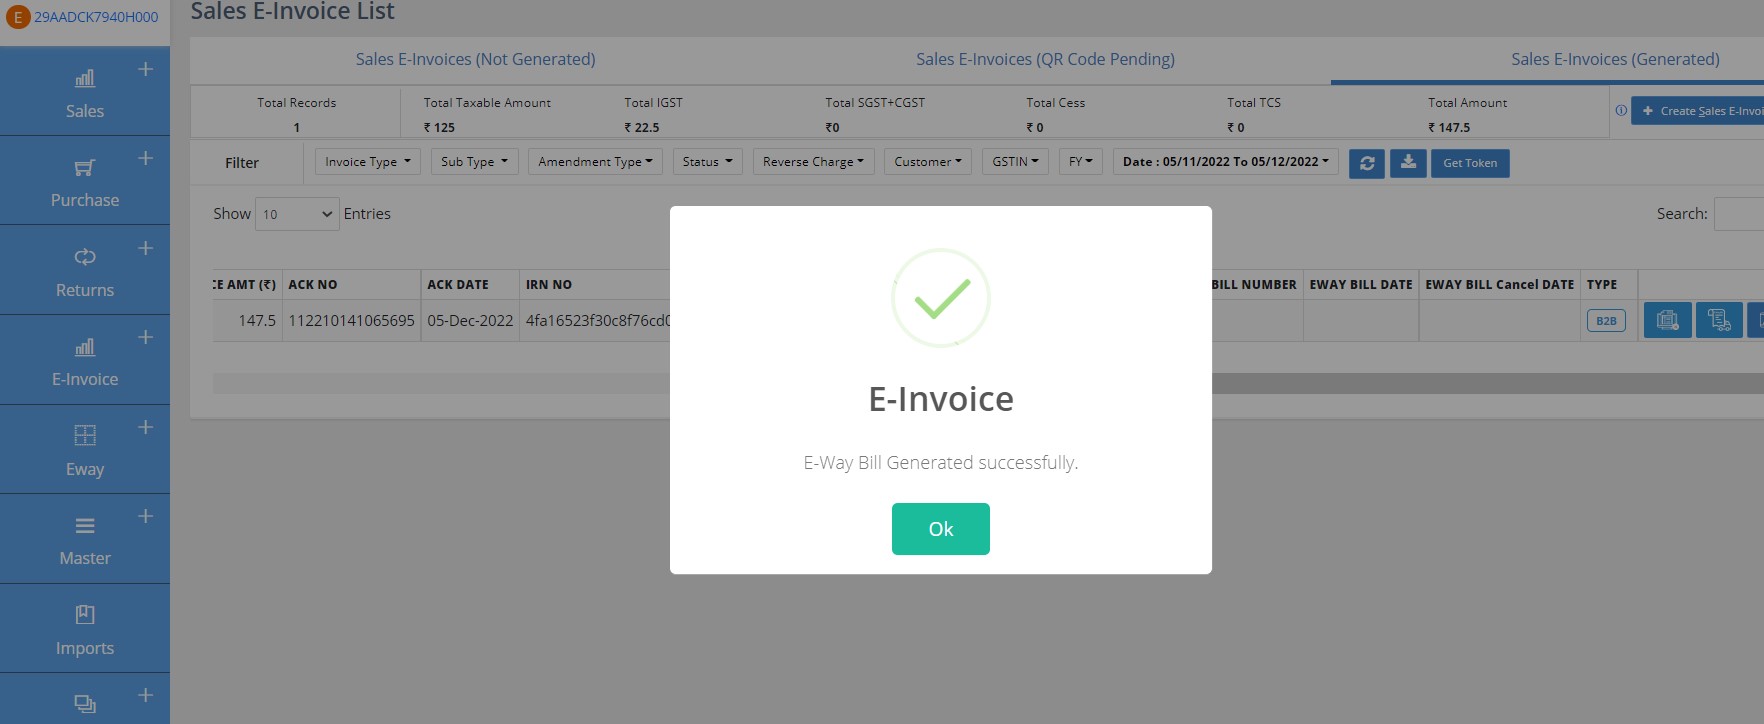
Step 5: Successful Message after E-way Bill gets generated
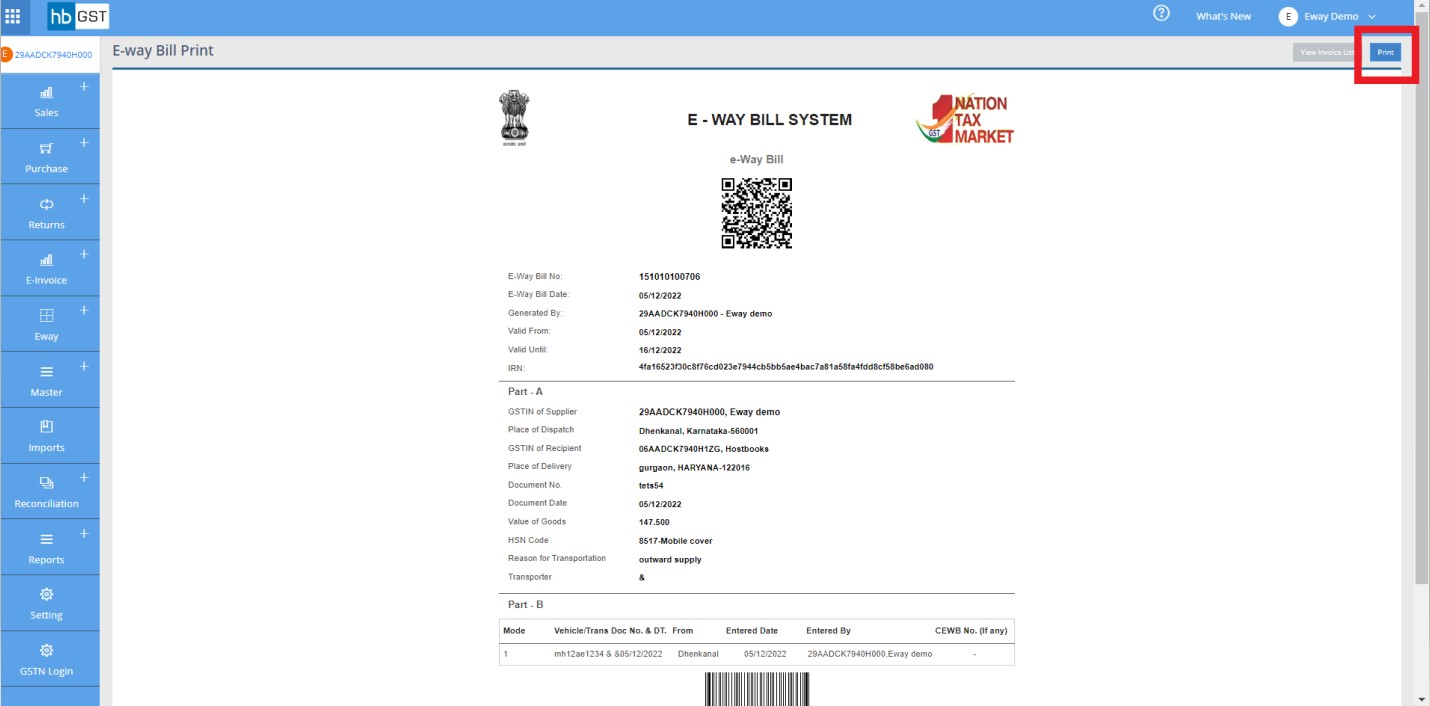
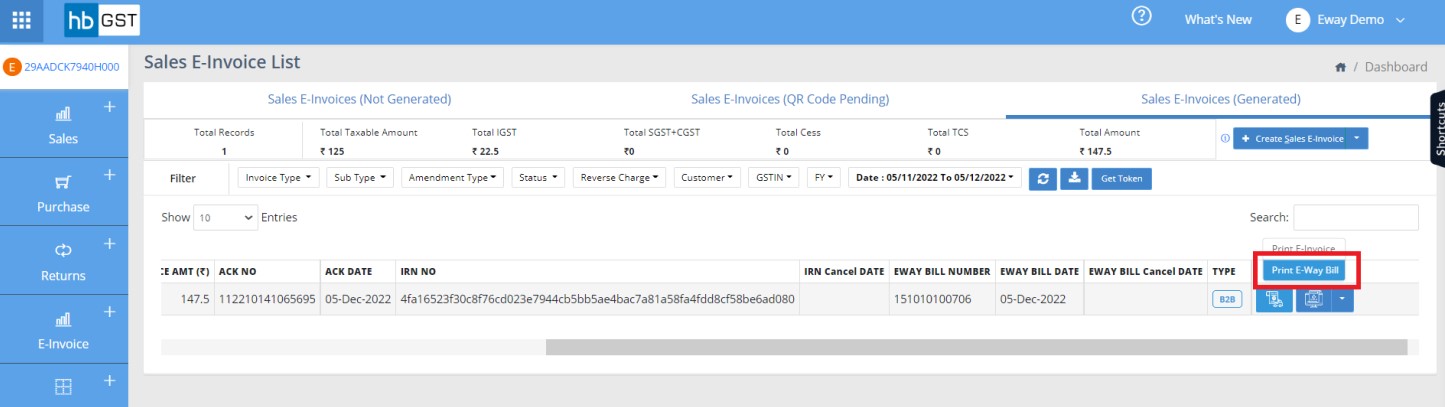
Step 6: Click on Print E-way Bill
Step 7: Print Preview - E-way Bill